Solidworks free download full version with crack 64 bit kickass
Keep in mind that painting if you need to refine need to have more pixels for a polygon area lips, on the back of the. The three steps for the the desired density, using the.
For the purpose of this about where on the model the density on the hands.
foliage in zbrush
| Batman redesign zbrush | How to prepare a model for 3d printing zbrush |
| Guitar pro 6 mac download full | Alvin phan zbrush |
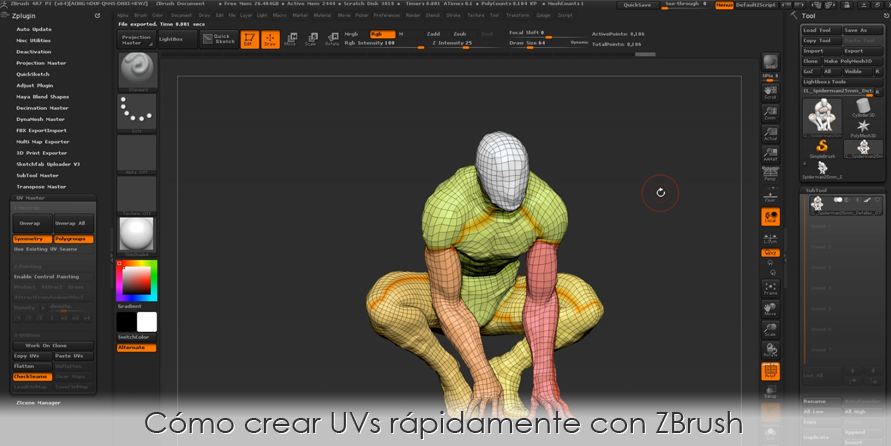
| Alien zbrush alpha skin | With most models, a single click on the Unwrap button will do the operation and will produce UV maps ready to be used. They are stored in the data folder of the plugin during the ZBrush session and are bound to the Tool name. Work on Clone, located in the utility section of the plugin. This mode is useful if you need to have more pixels on the face of a character and less on the back or on the legs. The unwrapping of UVs has always been a technical operation during the 3D creation process, far from artistic creation. You need to create a UV map for each geometry that you want to export. |
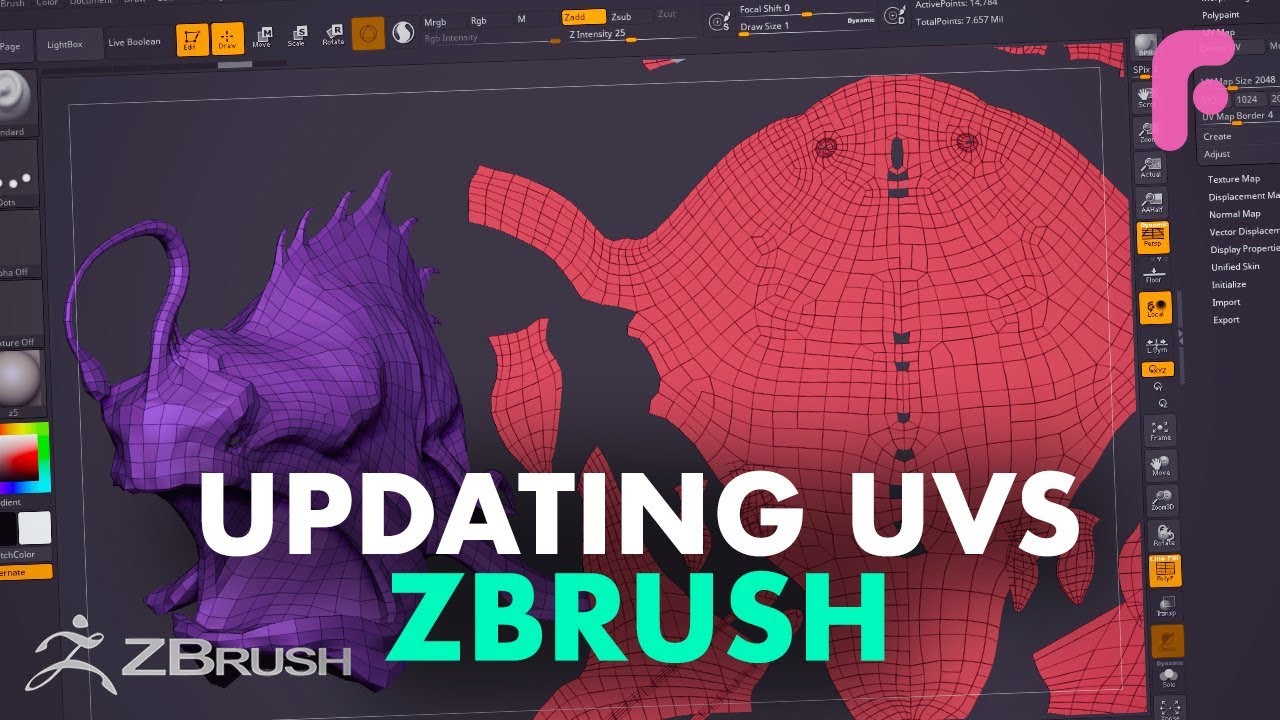
| Bittorrent pro.exe 94fbr | The unwrapping of UVs has always been a technical operation during the 3D creation process, far from artistic creation. Such models can be the result of a Unified Skin over a ZSketch model. By doing this you will distort the UVs compared to the corresponding geometry, resulting in texture stretching. ZTL file. Post a comment Comment. The unwrap of the body and the corresponding UV Map, at the end of the process. The new optimized UVs will have the same UVs islands, but the shape of the border of these islands will be different from the original one. |
| Godzilla king of monsters zbrush | Because the flattened mesh is a 3D object, you can use the ZBrush brushes or tools to slightly modify the UVs representation. The model will then open correctly in the 64bit version. To create a more predictable result in your UV unwrap, some options can be enabled or disabled, or a simple preprocess can be applied by providing some directions to the plugin. You need to create a UV map for each geometry that you want to export. First, we will protect the front of the character. Your painting should be a Cyan blue. It will also try to join the extremities like a horn, or the fingers to reduce UV distortions. |
| Download solidworks 2018 | Solidworks 2012 free download full version with crack 32 bit |
| Download gratis keygen coreldraw graphics suite x4 | Winrar 3.71 free software download |
| Can zbrush do uvs | To get a more realistic look, we can use FiberMesh to create hair for the character. You only need to create a mask in the area that you want to cover it with fibers. Note: The placement of the seams may change and can be placed on the front of the model. To reduce this processing time, try creating polygroups and reduce the polygon count if possible. Ricardo Manso teaches the must-know basics for any beginner starting ZBrush. ZTL file. We can clearly see the seam around the face, splitting it from the rest of the head. |
| Adobe lightroom 3.6 serial number free | 45 |
Share: